Lighting for Dating Profile Photos: Keep the Moment Visible
Use the light to keep expressions, activities and social moments readable.
Good lighting for a dating photo lets someone see what makes the moment appealing. That might be a relaxed expression, a skill in action or the people enjoying your company. Start there. You don't need to move every good moment to a blank wall or wait for sunset before taking out your phone.
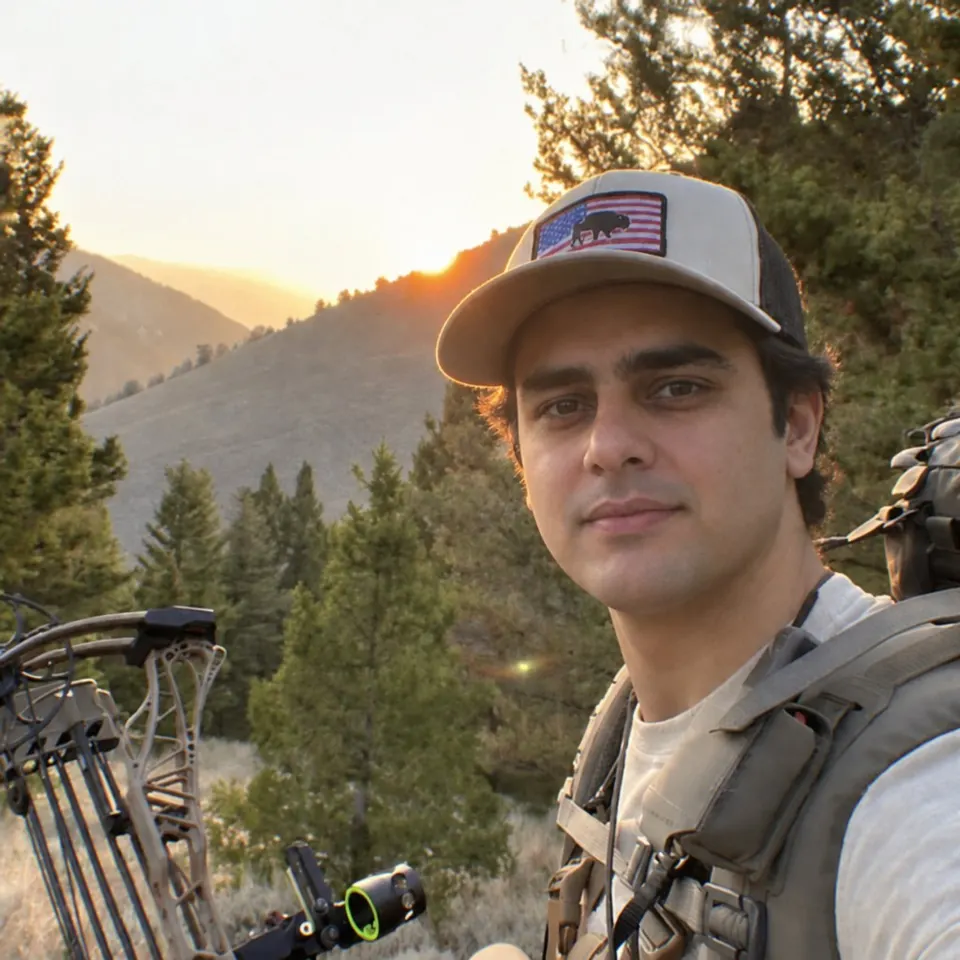
Backlighting can keep the atmosphere
Zain's outdoor photo has a bright sky behind him and shade across his face. You can still read his expression, and the trees, mountains and gear make the outing clear. The face doesn't have to be the brightest thing in the picture for the whole scene to work.
When you're taking a similar photo, check a test frame before changing everything. Can you see the expression at phone size? Does the landscape still explain where you are? If both are readable, keep shooting. A bit of shadow can belong to the moment.
If the face disappears, change your position relative to the light or ask your friend to move around you. You may be able to keep part of the view without putting its brightest area directly behind your head. Compare the new frame with the first one; choose the version that preserves both the person and the outing.
Use shade when direct sun gets in the way
Bright sun is fine for an active scene, but it's less helpful when you spend every frame squinting. For a paused photo, try the shade beside a building or under an awning. Look for an evenly shaded spot rather than patches of sun crossing your eyes and mouth.
For an indoor pause, try a position near a window with indirect daylight. A window beside the table can help make an expression readable while keeping the meal or conversation in the frame. Adobe's portrait-lighting guide explains how open shade and diffused window light soften harsh contrast.
Keep the adjustment small enough that the scene still makes sense. At lunch, move a chair or change which side of the table you shoot from. On a walk, pause at a nearby shaded section of the path. There's little benefit in finding smoother light if you leave the interesting part of the photo behind.
Fix the light around the moment
- Find the moment
Keep the expression, action or interaction that makes the photo worth taking.
- Read the expression
Check a test frame at phone size. Is the important detail hidden?
- Adjust the position
Try another angle or nearby light, then compare what the whole scene says.
Readable already? Stay with the activity instead of endlessly adjusting the light.
Shade can still leave you too dark
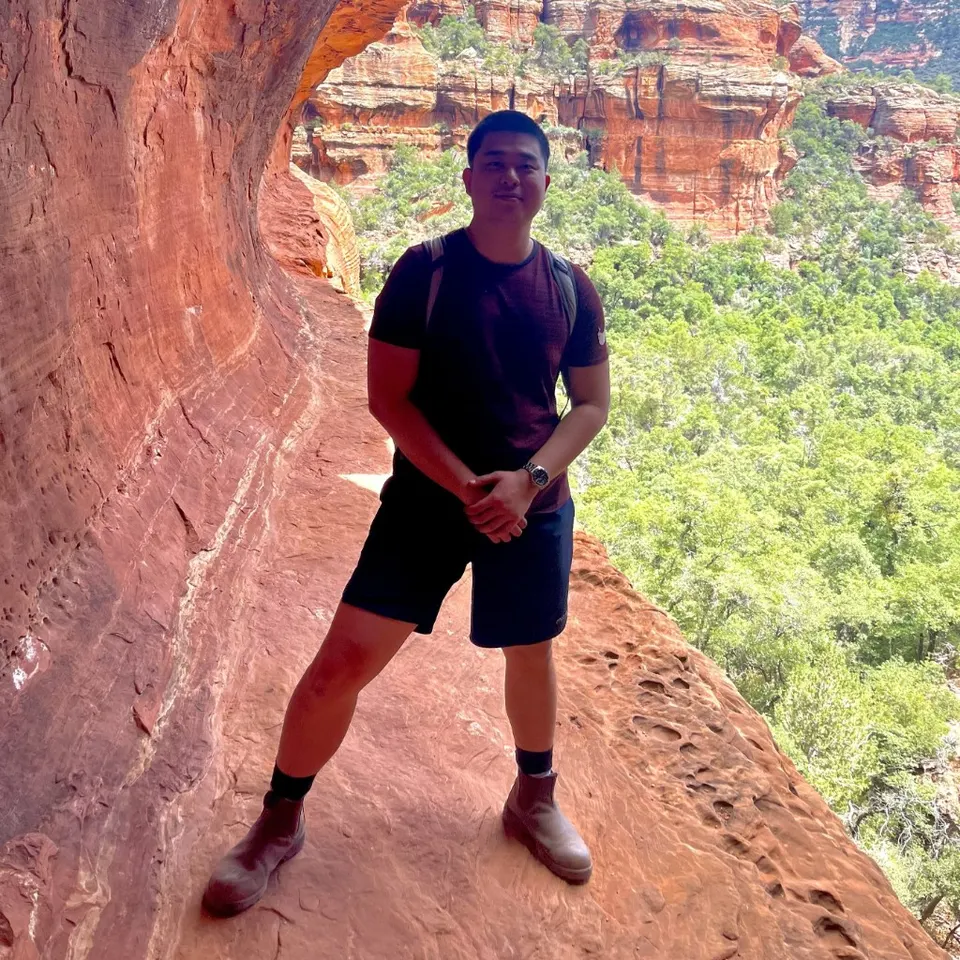
Jason's canyon photo shows the tradeoff. His stance, backpack and the rock setting give the picture an adventurous feel. The background is much brighter than his face, so his expression takes more effort to read. Shade alone hasn't solved the lighting.
For your own version, try a camera angle that includes less bright sky or sunlit rock behind you. From a secure position, turn a little toward the open light and take another frame. Don't move onto an exposed edge to improve a photo. Changing the camera's direction may be enough.
If you're adjusting brightness on the phone, watch the whole preview. Making the face brighter can also wash out a bright background. Stop when the useful details are readable rather than trying to make every part equally bright.
An existing photo needs a different decision: whether a modest edit helps it earn a slot. Our editing guide covers that review. While you're still there with the camera, getting another angle gives you a choice an edit can't recreate.
Keep evening photos connected to the room
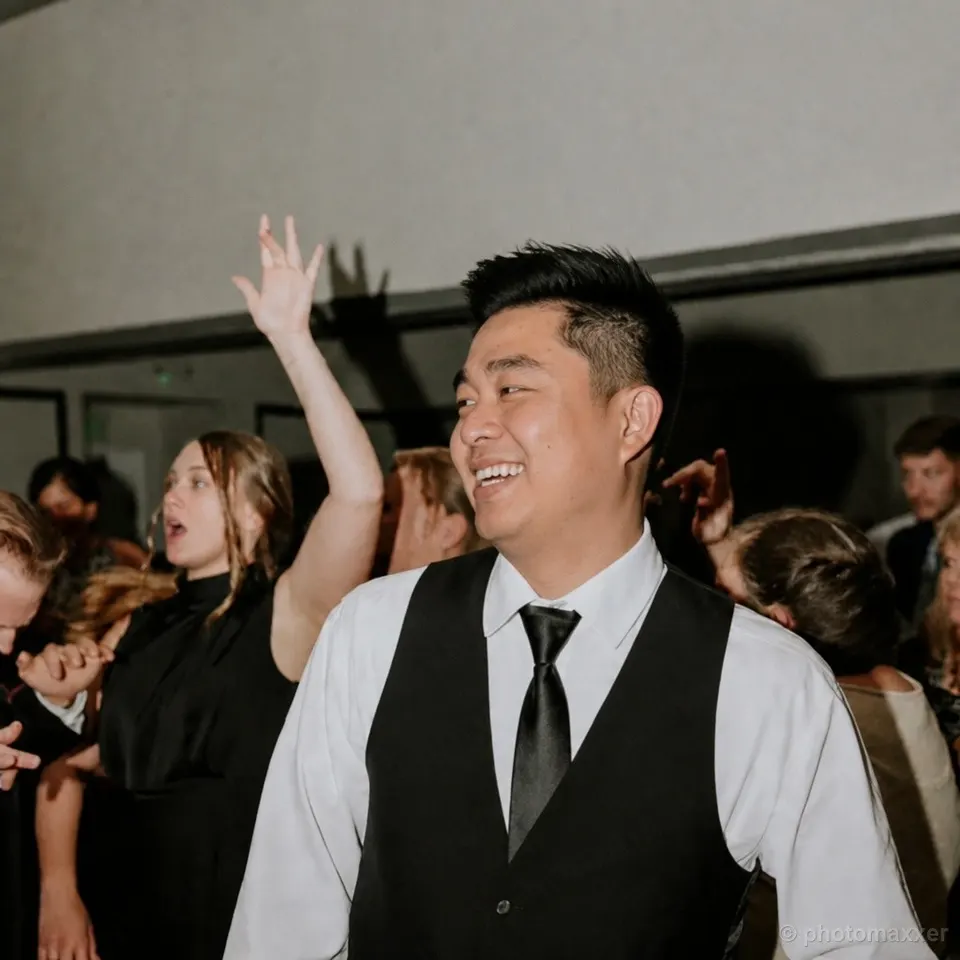
In Jason's dance-floor photo, the bright face and shirt stand out, but the people behind him remain visible. Their raised arms and expressions keep the picture social. The light supports a lively moment instead of turning the room into an irrelevant backdrop.
At an evening event, start by checking whether the available light shows the people well enough. Try a position closer to a lamp or a brighter part of the room while keeping the interaction in view. If you use flash, compare a test with it on and off. Keep the version with the stronger expression and enough of the room to understand the occasion.
Don't stop a good conversation every few seconds to rearrange everyone. Ask a friend for a short sequence, check one, then let the evening continue. If the light changes around the venue, you can try another spot later. The nightlife-photo guide covers choosing moments where you look involved.
You don't need one lighting style across the profile
A sunny activity photo, a softer dinner photo and a lively evening shot can work together. The different light belongs to different parts of your life. Trying to make them all look like the same portrait session can remove some of that variety.
Review the lineup for what each photo adds. Keep enough readable views of you across it, then let stronger activity and social scenes do their own jobs. A photo with less flattering light can still be worth keeping when it communicates something your perfectly lit portrait doesn't.