Tripod Photos for Dating Apps: Plan a Useful Solo Session
Choose the action, test the frame and give yourself a few useful options.
A tripod gives you a way to photograph an activity when nobody else is free to help. Choose what the picture should show before deciding where the phone goes: a relaxed walk, time with a hobby or a place you enjoy. Then build a short sequence around one small action, so the session produces more than the same standing pose.
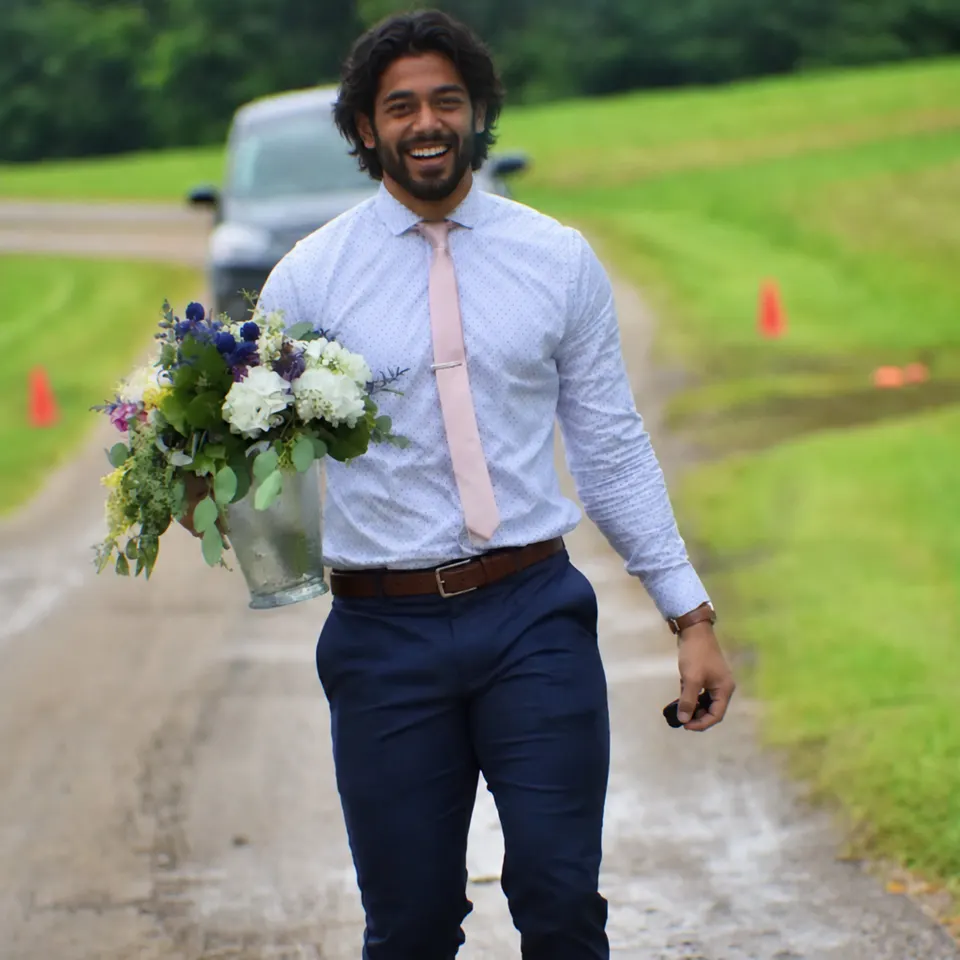
Choose an action you can repeat comfortably
Rohan's flower photo illustrates the kind of moment to plan for: a short walk, something meaningful in his hand and an expression that suits the occasion. The pose has a purpose. For your own tripod session, a few steps toward the camera can give you several choices without requiring a complicated performance.
You don't need flowers or formal clothes. Bring the activity you already wanted to show. Put a book down after reading, adjust your backpack before a walk or take a seat with your coffee. Choose one small action that you can repeat without looking for instructions between every frame.
Keep the session narrow. “A relaxed photo during my morning walk” is a workable brief. Trying to capture your hobbies, social life, best outfit and most dramatic expression in one setup makes it harder to get a useful result.
Think about what the photo could add to the profile. Warmth, curiosity or an active routine are useful contributions. A solo session doesn't need to recreate a party to make you interesting. The guide to profiles without group shots has more ways to show a life someone could join.
Build the frame around where you'll be
Secure the phone in the tripod's mount and place the tripod on firm, level ground. Check that it stays steady when you step away. Pick a camera position that leaves the action visible. For a seated picture, include the part of the table or chair that explains the moment. For a walking picture, leave room for your body and the path. Start with a little extra space so a later crop has something to work with.
Choose a spot you can find again, such as a paving joint or the edge of a bench. Take a test frame from that position. Check whether you're the right size in the picture, whether the activity is obvious and whether anything cuts across your face or hands.
Adjust the camera position to solve a visible problem. If the view mostly shows the underside of a table, raise the phone. If the interesting part of the activity is missing, widen the frame or change the position. You don't need a universal camera height; you need a view that explains this scene.
Make one setup work before moving on
- Choose a small action
Pick something comfortable that gives the photo a purpose.
- Test the frame
Check your position, the light and the context that explains the moment.
- Take a short sequence
Review the expressions and action, adjust one thing, then try again.
Stop when you have a useful choice. More frames of the same pose aren't a new side of you.
Give a wide outdoor photo enough of you
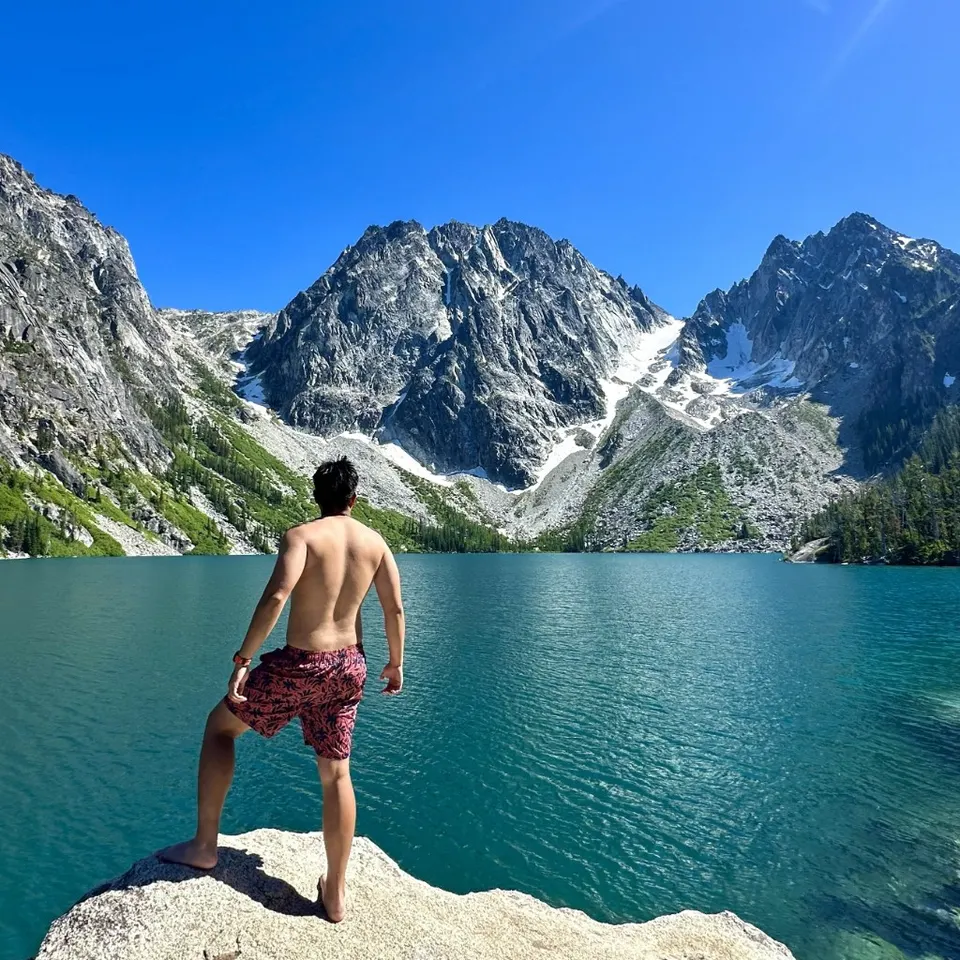
Jason's lake photo is useful for planning a wider composition. He's clearly visible in the foreground, and the lake and mountains provide the experience around him. The picture introduces an adventurous setting even though his face isn't visible.
If you're making an outdoor photo alone, use the test frame to check that relationship between person and place. A beautiful view with you as a tiny dot may be hard to read in a dating app. Move the setup closer or choose a less sprawling frame if the person disappears.
Choose an ordinary, secure place to stand for your own session. You can keep a trail, trees or water in the background without stepping onto an exposed edge. The camera should fit the activity, rather than make you rush to a difficult position before a timer finishes.
A back-facing view can be one useful part of a lineup, but don't let every solo photo turn into looking away at scenery. Take a camera-facing option too, then compare what each contributes. The looking-away guide explains when your attention adds to the story.
Use the timer to create options
Use your camera's timer, or a remote if you already have one, to give yourself time to settle. Start with a still test before trying movement. Make sure the result is focused where you actually stand, rather than judging only the empty scene on the screen.
For the next attempt, repeat your small action. Walk a few steps and pause, turn from the view toward the camera or settle into the chair. Keep the movement easy to repeat. If your camera supports a timed sequence, it can give you several moments to compare; otherwise, reset between attempts.
Review a small batch before taking dozens more. Look for a useful expression, a readable activity and hands that aren't blocking the story. Fix one issue at a time. Our posing guide gives you options when the stance starts to feel stiff.
Know when a selfie already does the job
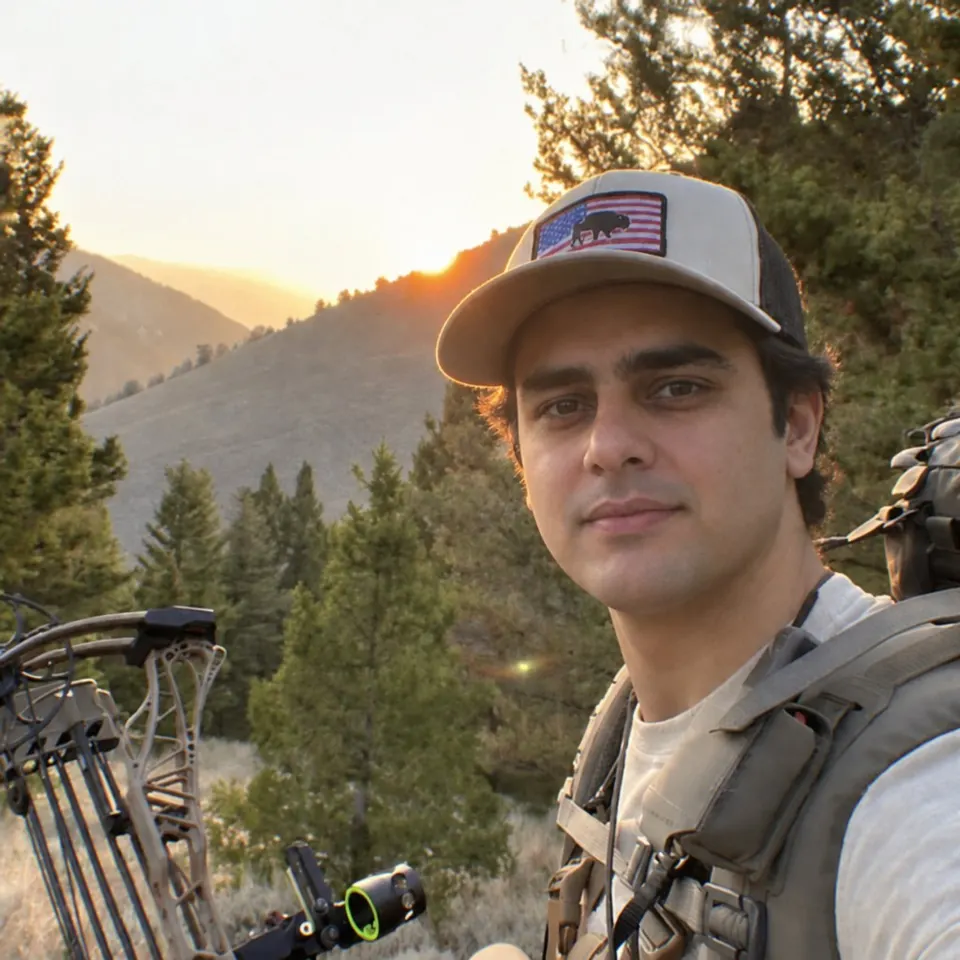
Zain's outdoor selfie keeps his face prominent while the cap, gear, trees and mountains give the picture context. A close frame can already introduce the person and the outing together. A tripod isn't automatically an improvement just because it puts the phone farther away.
Use the tripod when you need your hands free, want more of the activity or want a different distance from the camera. Keep the selfie when it already captures the expression and setting you want. The selfie guide helps make that choice.
Before you finish, look at the new photos beside your existing lineup. Keep the one that contributes something useful. If you already have several solo outdoor poses, another outfit at the same spot may add less than a warmer or more playful moment. One successful session can fill a gap without having to supply the entire profile.